InstaPilau Outside Catering: Bringing Flavor and Culture to Your Events
 Tamu
Tamu


 Tamu
Tamu
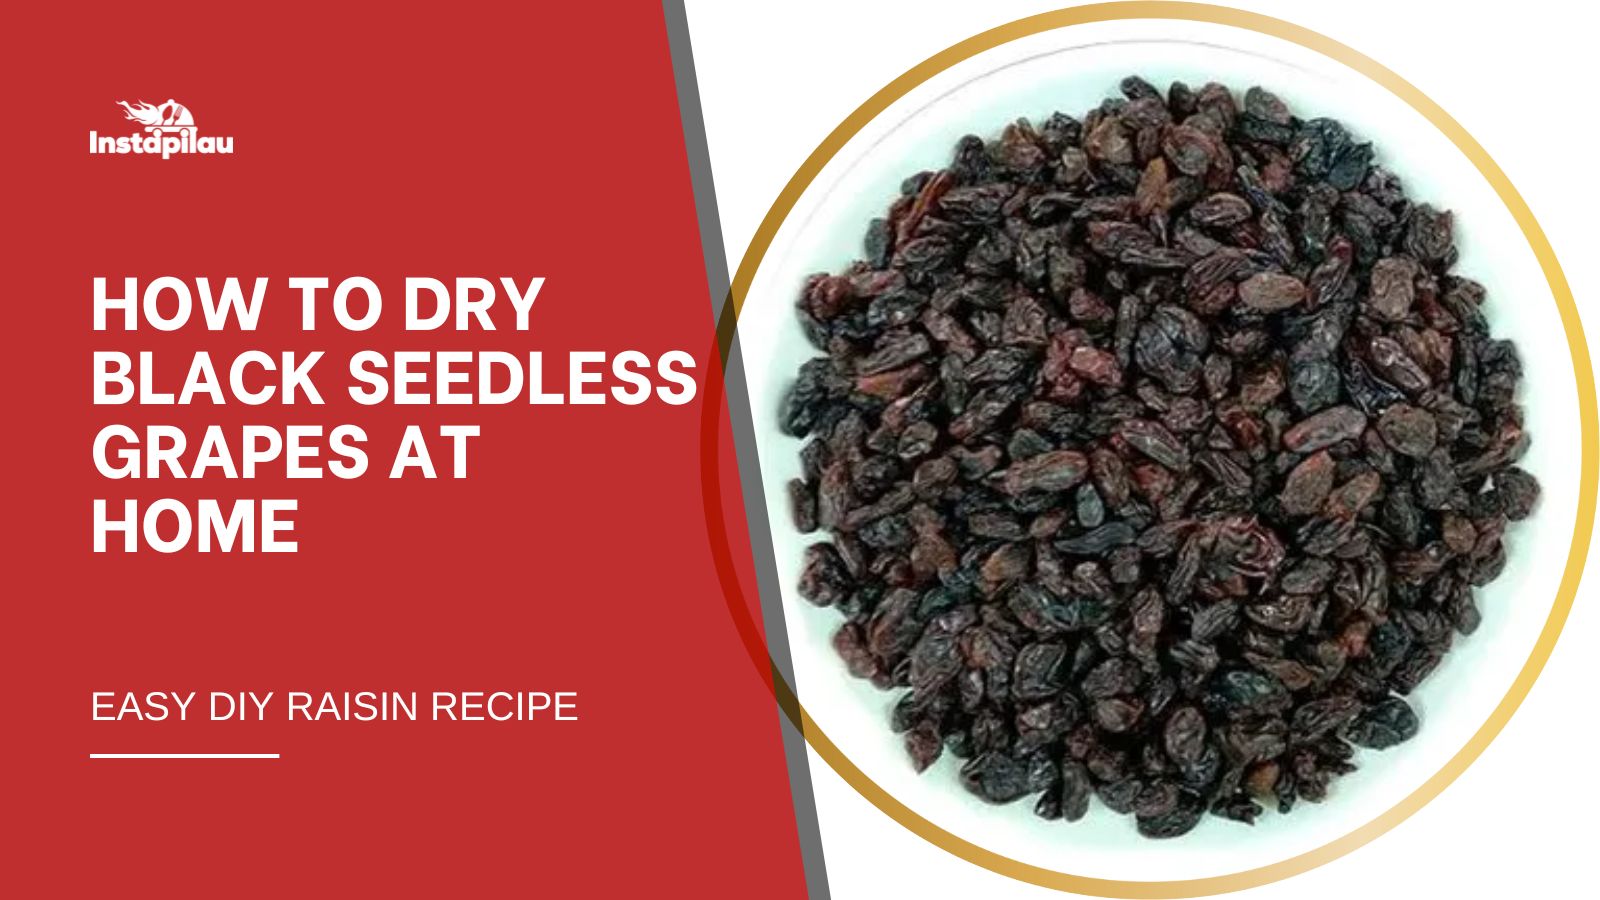
Drying black seedless grapes at home is not just a fun and rewarding project—it’s also a great way to enjoy a healthy snack free of additives and preservatives. Homemade raisins pack natural sweetness and are rich in antioxidants, fiber, and iron. Whether you're a fan of healthy snacking, prepping for long-term storage, or simply want to use up extra grapes, this guide will walk you through the easy steps to make your own raisins.
Choose ripe, plump, black seedless grapes with no bruises or mold. Rinse them thoroughly in cool water using a colander.
Detach grapes from the stems and pat them dry gently using a clean towel. Moisture slows down the drying process, so ensure they are as dry as possible.
Blanching grapes for 30 seconds in boiling water followed by an ice bath helps crack their skins, allowing moisture to escape more quickly. This step is optional but useful for faster results.
Properly dried raisins should feel soft and leathery but not sticky. Tear one open to check for any moisture inside. If it’s moist, continue drying.
Once fully dried, let raisins cool and store them in an airtight container in a cool, dark place. For longer shelf life, store them in the fridge or freezer.
Making your own raisins from black seedless grapes is simple, budget-friendly, and healthier than store-bought options. Whether you're using an oven, dehydrator, or the sun, the result is a delicious, preservative-free snack your whole family will love.
Q1: Can I use red or green grapes instead? A1: Absolutely! The drying method is the same; just expect slight differences in taste and color.
Q2: How long do homemade raisins last? A2: When stored properly, they can last 6-12 months.
Q3: Is blanching necessary? A3: No, but it speeds up the drying process.
Q4: Can I flavor my raisins? A4: Yes! Try soaking grapes in fruit juice or sprinkling with spices before drying.
Q5: How do I know if raisins are fully dried? A5: They should feel leathery, not sticky, and show no signs of internal moisture when torn open.